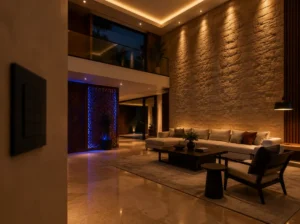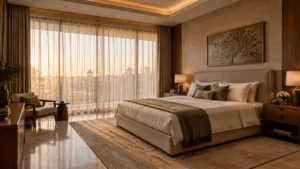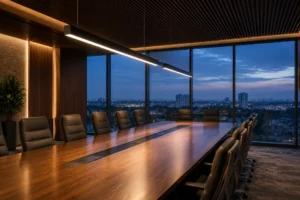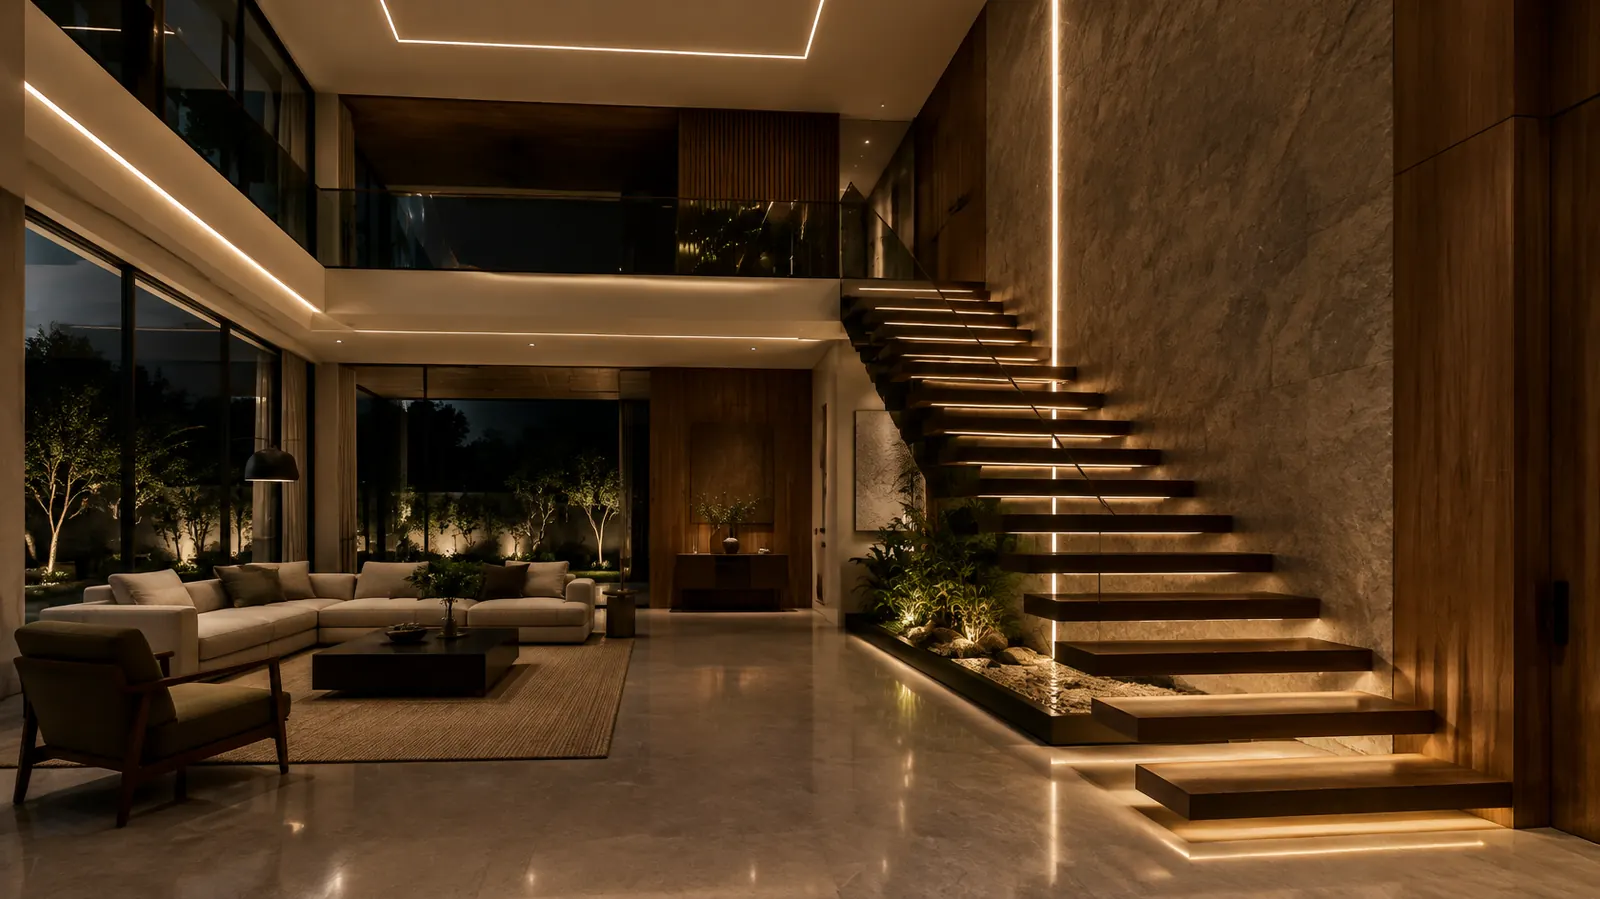
Light is placed, not poured
Most lighting briefs start with lux and lumens. The more consequential decision sits one level down: the beam angle. It decides where light lands, how hard its edge is, how much of the ceiling glows, and, as importantly, where shadow is allowed to stay.
Two spotlights with identical wattage, colour temperature and CRI can produce opposite rooms. One gives a soft, even field that flattens a stone wall. The other gives a tight pool that pulls a sculpture forward and leaves the surrounding volume quiet. The difference is optics.
This guide treats beam angle as a design instrument. It covers:
- How to read a beam on a data sheet, and why the spec rarely matches what you see.
- The geometry and intensity that follow from each angle.
- The optic families that create the beam, and their trade-offs.
- How beam choice builds contrast, reveals material and controls glare.
- A specification checklist and a beam spread calculator.
It is the first part of a series. The space-specific guides on bedrooms, living spaces and workspaces apply these principles room by room.
1. Reading a beam
A beam angle on a data sheet is a measurement convention, not a visible edge. Knowing what it measures explains most surprises on site.
Beam angle vs field angle
- Beam angle (FWHM): the cone within which intensity stays at or above 50% of the peak (centre-beam) intensity.
- Field angle: the cone within which intensity stays at or above 10% of peak.
- The eye reads the field, not the beam. A “24°” spot often shows a visible halo closer to its field angle, frequently 1.5 to 2 times wider.
- Two products with the same beam angle can have very different field angles. That gap decides whether the pool has a crisp or a feathered edge.
Centre-beam candela (CBCP)
- The peak intensity at the centre of the beam, in candela.
- It tells you how far a beam will carry and how strongly it will read against ambient light. Lumens alone cannot.
- Ask for it, or read it from the polar curve or IES file.
Reading the polar curve
- A narrow, tall lobe means a concentrated beam with high CBCP.
- A broad, rounded lobe means a wide, low-intensity spread.
- Shoulders or secondary lobes indicate spill, which shows up as rings or a lit ceiling.
- An asymmetric curve, drawn in two planes, indicates a wall-wash or elliptical optic.
Beam classes (indicative)
| Class | Typical beam angle | Design role |
|---|---|---|
| Super narrow | under 10° | Pinpoint accents, long throws, objects from height |
| Narrow (spot) | 10–20° | Sculpture, art, niches, grazing |
| Medium | 20–30° | Table pools, display, focused general light |
| Wide (flood) | 30–45° | General downlight, wall-adjacent fill |
| Very wide | over 45° | Ambient fill at low ceilings, uniform task planes |
These labels are not standardised. One manufacturer’s “narrow” can be another’s “medium”, so specify the angle in degrees, never the label.
2. The geometry of a beam
The size of a pool follows directly from beam angle and throw distance. For a beam aimed perpendicular to the surface:
D = 2d × tan(θ / 2)
Where D is the pool diameter, d is the throw distance (luminaire to target plane, not floor-to-ceiling height) and θ is the beam angle. Use the field angle in the same formula to find the visible halo.
Pool diameter at the 50% boundary (m)
| Throw distance | 10° | 15° | 24° | 36° | 60° |
|---|---|---|---|---|---|
| 1.5 m (niche, low shelf) | 0.26 | 0.39 | 0.64 | 0.97 | 1.73 |
| 2.25 m (3.0 m ceiling to table) | 0.39 | 0.59 | 0.96 | 1.46 | 2.60 |
| 3.0 m (3.0 m ceiling to floor) | 0.52 | 0.79 | 1.28 | 1.95 | 3.46 |
| 4.5 m (high living room) | 0.79 | 1.18 | 1.91 | 2.92 | 5.20 |
| 6.0 m (double-height hall) | 1.05 | 1.58 | 2.55 | 3.90 | 6.93 |
What the table tells a designer
- Measure from the luminaire to the target, not to the floor. A 24° spot that gives a neat 0.96 m pool on a dining table spreads to 1.28 m on the floor beside it.
- A double-height space needs roughly half the beam angle to produce the same pool as a standard ceiling.
- Pool size vs object size: a pool slightly larger than the object (about 10–20%) lights it fully without a visible hard ring around it. Much larger, and you are lighting the wall behind it.
- Overlap: spacing luminaires at about the pool diameter at the target plane joins the 50% boundaries for reasonably even coverage. Wider spacing gives distinct pools, which is a choice, not a mistake.
- Tilt stretches the circle into an ellipse; covered in section 9.
3. Intensity, not lumens
Narrowing a beam does not create light. It concentrates the same flux into a smaller solid angle, so intensity, and therefore illuminance at the target, rises sharply.
- The solid angle of a cone is Ω = 2π(1 − cos(θ/2)) steradians.
- A 10° cone covers about 0.024 sr. A 40° cone covers about 0.38 sr, roughly sixteen times more.
- So the same beam flux delivered through 10° instead of 40° gives roughly sixteen times the average intensity inside the beam. Real optics vary, but the order of magnitude holds.
Illuminance at the target
E = I × cos α / d²
Where E is illuminance in lux, I the intensity in candela towards the point, d the distance in metres and α the angle between the light ray and the surface normal.
- Inverse square: doubling the throw quarters the illuminance. A spot that gives 400 lux at 3 m gives about 100 lux at 6 m.
- Cosine: light arriving at a steep angle to a surface spreads over more area. On a wall lit from the ceiling, illuminance falls as the beam strikes it more obliquely.
Design consequences
- High ceilings need narrow optics with high CBCP, not more wattage in a wide beam. A wide beam from 6 m lights the floor, the walls and the air.
- For accent ratios, compare the accent’s CBCP-derived illuminance with the ambient level on the same surface (section 7).
- A lower-wattage narrow spot often achieves stronger accent than a higher-wattage wide one, with less glare and less load.
- Specify by candela and angle together. Lumens describe the source, not what reaches the object.
4. Optic families: how the beam is made
The beam angle is only the result. The optic that produces it decides the beam’s character, edge, efficiency and how it behaves near the eye.
| Optic | How it works | Beam character | Best used for |
|---|---|---|---|
| Smooth (specular) reflector | Polished parabolic surface redirects light | Defined beam, can show hot centre or rings | Precise accents, long throws |
| Faceted reflector | Segmented surface mixes reflected rays | Softer centre, smoother edge | Art and objects where an even pool matters |
| TIR lens | Total internal reflection in a moulded lens | Compact, tight, efficient; very narrow angles possible | Small apertures, narrow and super-narrow spots |
| Hybrid (lens + reflector) | Central refraction with reflective collar | Controlled beam with lower spill | Glare-sensitive accent and downlight |
| Elliptical / linear spread lens | Ribbed or prismatic film stretches one axis | Oval pool, narrow in one plane | Tall art, columns, corridors, shelving runs |
| Asymmetric wall-wash optic | Kick reflector or lens throws light to one side | Even vertical wash, little forward spill | Feature walls, wardrobes, joinery faces |
| Zoom / interchangeable optic | Adjustable lens position or swappable lens | Range of angles from one body | Galleries, retail, rooms that change use |
Trade-offs to weigh
- Size vs control: tight beams need either a deep reflector or a precise lens. A very small aperture spot cannot always deliver a clean super-narrow beam.
- Efficiency: every added layer (spread film, louvre, frosted cover) costs output. Account for it when comparing lumen figures.
- Zoom optics are versatile but often less efficient and less clean-edged than a fixed optic designed for one angle. Use them where flexibility is the brief.
- Interchangeable lenses let the designer finalise angles on site after furniture and art are placed. This is often the most reliable way to get accents right.
- Linear sources (profiles and slots) follow the same logic: their diffusers and lenses set the beam in the cross-section. See our LED Profiles work.
5. Beam quality: what the spec sheet leaves out
Two 15° spots can produce visibly different pools. Before approving a fitting for a feature wall or artwork, test it on a real surface.
- Edge profile: a hard edge reads as theatrical and graphic; a soft, feathered edge reads as natural and blends into ambient light. Neither is correct by default; choose it for the material and mood.
- Spill and halo rings: secondary rings around the main pool, often from the reflector lip or a poorly matched lens. On a plain painted wall they are very visible.
- Colour over angle: with some phosphor-converted LEDs the centre and edge differ in colour, often a yellowish outer ring. It is most visible on white plaster and light stone.
- Hot spot: a bright centre with fast fall-off. Useful for drama, harsh on art.
- Multiple shadows: sources made of several small emitters with separate lenses can cast multiple faint shadows from a single object. A single-emitter (COB) source behind one optic gives one clean shadow, which matters for sculpture and textured surfaces.
- Beam consistency: in a run of identical fittings, small variations in pool size or colour are obvious on a continuous wall. Ask for binning and tolerance information.
Mock-up practice
- Test at the real throw distance and the real surface finish.
- View from where people will actually stand or sit, not from under the fitting.
- Photograph the result at the same exposure for comparing options.
6. Glare, cut-off and the visible source
Beam angle controls where light goes; cut-off controls where the source can be seen from. A premium interior usually shows the effect and hides the source.
- Cut-off (shielding) angle: the angle below the horizontal at which the bright source first becomes visible. Higher shielding means the source stays hidden across more of the room.
- Recess depth: setting the source deeper in the housing raises the shielding angle. It needs ceiling void depth, which is often the constraint (section 10).
- Dark-light reflectors: a reflector designed so the aperture appears dark from normal viewing angles. The ceiling reads calm even with many fittings.
- Honeycomb louvre: cuts off oblique rays, tightens the field slightly and reduces spill on the ceiling and nearby walls. Expect some loss of output.
- Snoot: a cylinder extension on surface or track spots, for strong cut-off in a defined direction.
- Tilt vs glare: an adjustable spot tilted towards a wall can throw its bright aperture into the eyes of people opposite. Check sightlines from seating positions, not just from the door.
UGR in context
- The Unified Glare Rating estimates discomfort glare for an installation from a given viewpoint. Lower is better.
- Workspaces normally carry a UGR limit. EN 12464-1, for example, sets UGR ≤ 19 for writing and typing tasks in offices. The workspace guide in this series covers this in detail.
- Residential spaces have no binding limit, but the principle holds: narrower, well-shielded optics reduce glare far more effectively than lowering wattage.
7. Beam angle as composition
A room is read through its brightest surfaces first. Beam angle is how the designer decides which surfaces those are, and how sharply they separate from everything else.
Contrast hierarchy
Accent strength is the ratio between the accent illuminance and the ambient illuminance around it. Commonly used design conventions (rules of thumb, not standards):
| Accent : ambient | How it reads |
|---|---|
| about 2:1 | Barely noticeable emphasis |
| about 5:1 | Clear but gentle emphasis |
| about 15:1 | Dramatic, the object leads the room |
| 30:1 and above | Theatrical; the surroundings fall away |
- Narrow beams make high ratios achievable without raising ambient glare.
- Wide beams lift the surroundings along with the object, compressing the ratio.
- Decide the hierarchy first (one primary focus, a few secondary, the rest quiet), then pick angles to deliver it.
Vertical illuminance and volume
- Rooms feel larger and calmer when vertical surfaces are lit; a bright floor with dark walls reads as a cave.
- Wide downlights mostly light the floor. Asymmetric wash and narrow grazing optics put light on walls, where perception of space is formed.
- In double-height spaces, lighting the upper walls or the ceiling plane is what reveals the full volume.
Figure and ground
- A tight beam on an object against a dim background separates figure from ground; the object appears to come forward.
- A beam slightly larger than the object, with a soft edge, integrates it into the wall instead.
Rhythm and scallops
- Downlights close to a wall create scallops, the arched light patterns at the top of the wall.
- Unplanned, they look like an error. Planned, with even spacing aligned to the architecture (pilasters, panels, door centres), they become a rhythm.
- If scallops are not wanted, move the fittings away from the wall or switch to a wall-wash optic.
See how this applies to interior lighting and cove lighting.
8. Surfaces: grazing vs washing
The same wall can be made to show its texture or hide it. The deciding variables are beam angle and how far the luminaire sits from the wall.
| Grazing | Washing | |
|---|---|---|
| Intent | Reveal texture through shadow | Even, flat brightness |
| Offset from wall | Close, typically about 150–300 mm | Larger, commonly about a quarter to a third of wall height |
| Beam | Narrow, or linear with a narrow cross-section | Wide or asymmetric wall-wash |
| Spacing | Close, or continuous linear | Commonly about equal to the offset |
| Effect | Every ridge and joint casts a shadow | Imperfections disappear |
Offsets and spacings above are conventions to start from; confirm with a mock-up.
Material responses
- Sandstone, rough plaster, exposed brick: reward grazing. A narrow beam close to the wall turns surface relief into the design.
- Jaali and perforated screens: a narrow beam from behind or the side throws the pattern as shadow onto the surface beyond. Beam angle sets how sharp that projected pattern is.
- Fluted and ribbed panels: grazing parallel to the flutes deepens them; light at an angle to the flutes creates strong alternating bands.
- Lime plaster and limewash: soft grazing with a feathered edge brings out the cloudy variation without exaggerating trowel marks.
- Polished marble, granite and lacquer: grazing is unforgiving and specular reflection becomes the issue. A beam can reflect as a bright image of the source. Wash from a larger offset, and check reflections from viewing positions.
- Plain painted walls: grazing exposes every flaw in the plaster. Wash them, or accept the risk knowingly.
Linear grazing often uses LED profiles with narrow-beam lenses instead of point spots, for continuous, scallop-free texture.
9. Aiming and tilt
Once a beam is tilted, its pool is no longer a circle. The beam angle you specified changes shape on the surface, and that has to be planned.
- Ellipse elongation: the far edge of the pool stretches more than the near edge. The steeper the tilt, the longer and less even the pool.
- Intensity gradient: the near part of the pool is brighter (shorter distance) than the far part. On tall art, this can leave the top or bottom under-lit.
- Remedy for tall objects: a narrower beam aimed at the centre, an elliptical spread lens set vertically, or two fittings splitting the height.
The 30° convention for art
- A common starting point is to aim at the artwork’s centre at about 30° from vertical.
- Steeper than that, frames cast long shadows on the canvas. Shallower, glazing and varnish reflect the source back to the viewer, and the fitting’s glare reaches people facing the wall.
- Offset from the wall ≈ (ceiling height − artwork centre height) × tan 30°, which is about 0.58 × that height difference. For a 3.0 m ceiling and an artwork centred at 1.6 m, that is about 0.8 m.
- Larger works may need about 35° to avoid frame shadows. Check on site.
Fixed vs adjustable
- Fixed downlights are calmer and cheaper, but only work when the object sits directly below.
- Adjustable (gimbal) fittings let accents follow furniture, which in residences moves. Specify a lockable aim so cleaning and maintenance do not disturb it.
- Track gives the most flexibility, at the cost of a visible system. It suits galleries, retail and hospitality spaces with changing displays.
10. Designing for Indian interiors
Optical principles are universal; the constraints they meet in Indian projects are specific. Plan for them at the concept stage, not at ceiling closure.
- Ceiling heights: many apartments finish around 2.7–3.0 m after the false ceiling; villas often run higher, and double-height living halls are common in independent homes. One beam schedule does not suit all three. Recalculate pool sizes for each.
- Shallow gypsum voids: false ceilings are frequently built tight to beams and ducts. Deep-recessed, high-shielding optics may not fit. Confirm void depth and services routing before finalising the fitting, or plan local bulkheads.
- Beams and drops: downstand beams interrupt grids. Use them: align accent rows to the beam lines rather than forcing a uniform grid.
- Heat: high ambient temperatures and closed ceiling voids stress LEDs and drivers, which shifts colour and output over time. Choose fittings with sound thermal design, and ventilate the void where possible.
- Dust: in dusty conditions, open reflectors collect dust and lose output; sealed lens optics are easier to clean. Agree a cleaning cycle with the client.
- Coastal humidity: in Puri and other coastal sites, semi-outdoor verandahs and balconies need an IP rating suitable for damp conditions, even under cover.
- Puja rooms and niches: a small, high-contrast space. A narrow, warm, well-shielded spot on the idol or altar, with the source hidden from the seated devotee’s eyeline, reads far more dignified than a bright general downlight.
- Jaali, stone and wood: traditional and regional materials respond strongly to grazing (section 8). They are often the best candidates for the primary accent in a room.
11. Specification checklist
Copy this into a lighting brief or a fitting schedule. Each accent or downlight type should answer every line.
Intent
- What is being lit, and what should it read as (primary focus, secondary, ambient)?
- Target contrast ratio against the surrounding ambient level.
- Hard or soft edge?
Geometry
- Throw distance to the target plane (not ceiling height).
- Required pool size at the target, and resulting beam angle.
- Field angle, so the visible halo is known.
- Aim: fixed, adjustable, lockable; tilt angle if adjustable.
Photometry
- Beam angle in degrees (never a label like “narrow”).
- Centre-beam candela or IES file.
- Calculated illuminance at the target.
Optic and glare
- Optic type: reflector, TIR, hybrid, elliptical, asymmetric wash.
- Shielding: recess depth, dark-light reflector, louvre or snoot.
- Sightlines checked from seating and standing positions.
Source quality
- Colour temperature and CRI, matched across all fittings lighting the same surface.
- Colour over angle and beam consistency checked on a sample.
Site constraints
- Ceiling void depth confirmed; beams and ducts located.
- Thermal environment and cleaning access.
- IP rating where humidity or exposure applies.
Verification
- Mock-up at real distance on the real finish.
- Interchangeable lenses or a site aiming session planned after furniture and art are in place.
12. Beam spread calculator
Enter the mounting height, the height of the surface you are lighting and the beam angle. The calculator returns the pool diameter, the visible field diameter and a suggested spacing. Add the centre-beam candela from a data sheet to estimate illuminance at the centre of the pool.
Beam spread calculator
Symmetrical beam, aimed straight down. Distances in metres.
The calculator assumes a symmetrical beam aimed straight down. Tilted aiming, asymmetric optics and full photometric layouts need IES data and lighting design software.
Frequently asked questions
What is the difference between beam angle and field angle?
Beam angle is the cone in which intensity stays above 50% of the peak. Field angle is the wider cone in which it stays above 10%. The eye usually perceives something close to the field angle, so the visible pool is larger than the beam angle suggests.
What beam angle should I use for art lighting?
It depends on throw distance and artwork size, not on a fixed number. Choose the angle that gives a pool slightly larger than the work at the actual throw, aimed at about 30° from vertical. For a typical residential throw, that often falls in the narrow to medium range.
Does a narrower beam make a light brighter?
It does not add light, but it concentrates it. The same flux in a narrower cone produces much higher intensity and illuminance on the target, which is why narrow spots create stronger accents at the same wattage.
What beam angle suits a 3 m ceiling?
For general downlighting, wider beams (around 36° to 60°) give overlapping coverage at practical spacings. For accents at that height, narrow to medium beams (around 10° to 24°) give pools of roughly 0.4 m to 1.0 m on a table. Use the calculator above for your exact throw.
When should I use a wall-washer instead of a spotlight?
Use a wall-washer when the wall itself should read as an even, bright plane. Use narrow spots or grazing when the wall carries texture, art or objects that should stand out against it.
Continue the series
The next guides apply these principles room by room:
- Beam Angle in Bedroom Lighting: Designing for the Reclined Eye
- Beam Angle in Living Spaces: Volume, Art and Vertical Surfaces
- Beam Angle in Workspaces: Glare Control, Task Planes and Faces on Camera
Planning a residence, office or hospitality project in Bhubaneswar, Cuttack or elsewhere in Odisha? Book a free consultation and we will work through beam angles, optics and mock-ups with your design team.
About the author
Prem Rout, Founder of JMAP Solutions, set up in 2022 to deliver lighting, automation and building management solutions from Bhubaneswar. Over 15 years of experience in building products, construction and project business development across Mumbai and Odisha, working where design intent meets specification and site delivery. Connect on LinkedIn.